
If your MacBook Air M1 (13″, 2020) no longer charges or the battery has hardly any capacity left, a battery replacement is necessary in many cases. This week we had exactly that case in our workshop—and we’ll show you here how the replacement went in detail and what you should watch out for.

Table of Contents
Fault description & preparations
Fault description:
The customer reported that the MacBook Air M1 no longer charges despite being connected to power. The charge indicator sometimes stayed at 0%, and the device shut off immediately when no power was connected. This points to a defective battery that is no longer being detected by the charging controller.
Initial diagnosis:
After checking, it was confirmed: the power adapter and USB‑C ports were working perfectly. The battery showed no voltage anymore, and “Service Recommended” was displayed in the system, so a replacement was necessary.
Preparation:
For the replacement, you should have a precision tool set ready, as the M1 model uses very small screws. The IPC-Computer tool set for laptop repairs is ideal for this and is available in the IPC-Computer Shop.
Before you start:
- Shut down the MacBook completely
- Remove the power adapter
- Prepare an anti-static workspace
Step-by-step guide
1. Remove the bottom case:
First, loosen the ten Pentalobe screws on the underside. You can then carefully lift off the bottom cover using a plastic pry tool. Underneath is an additional cover over the mainboard—this is also removed to access the battery connector later.
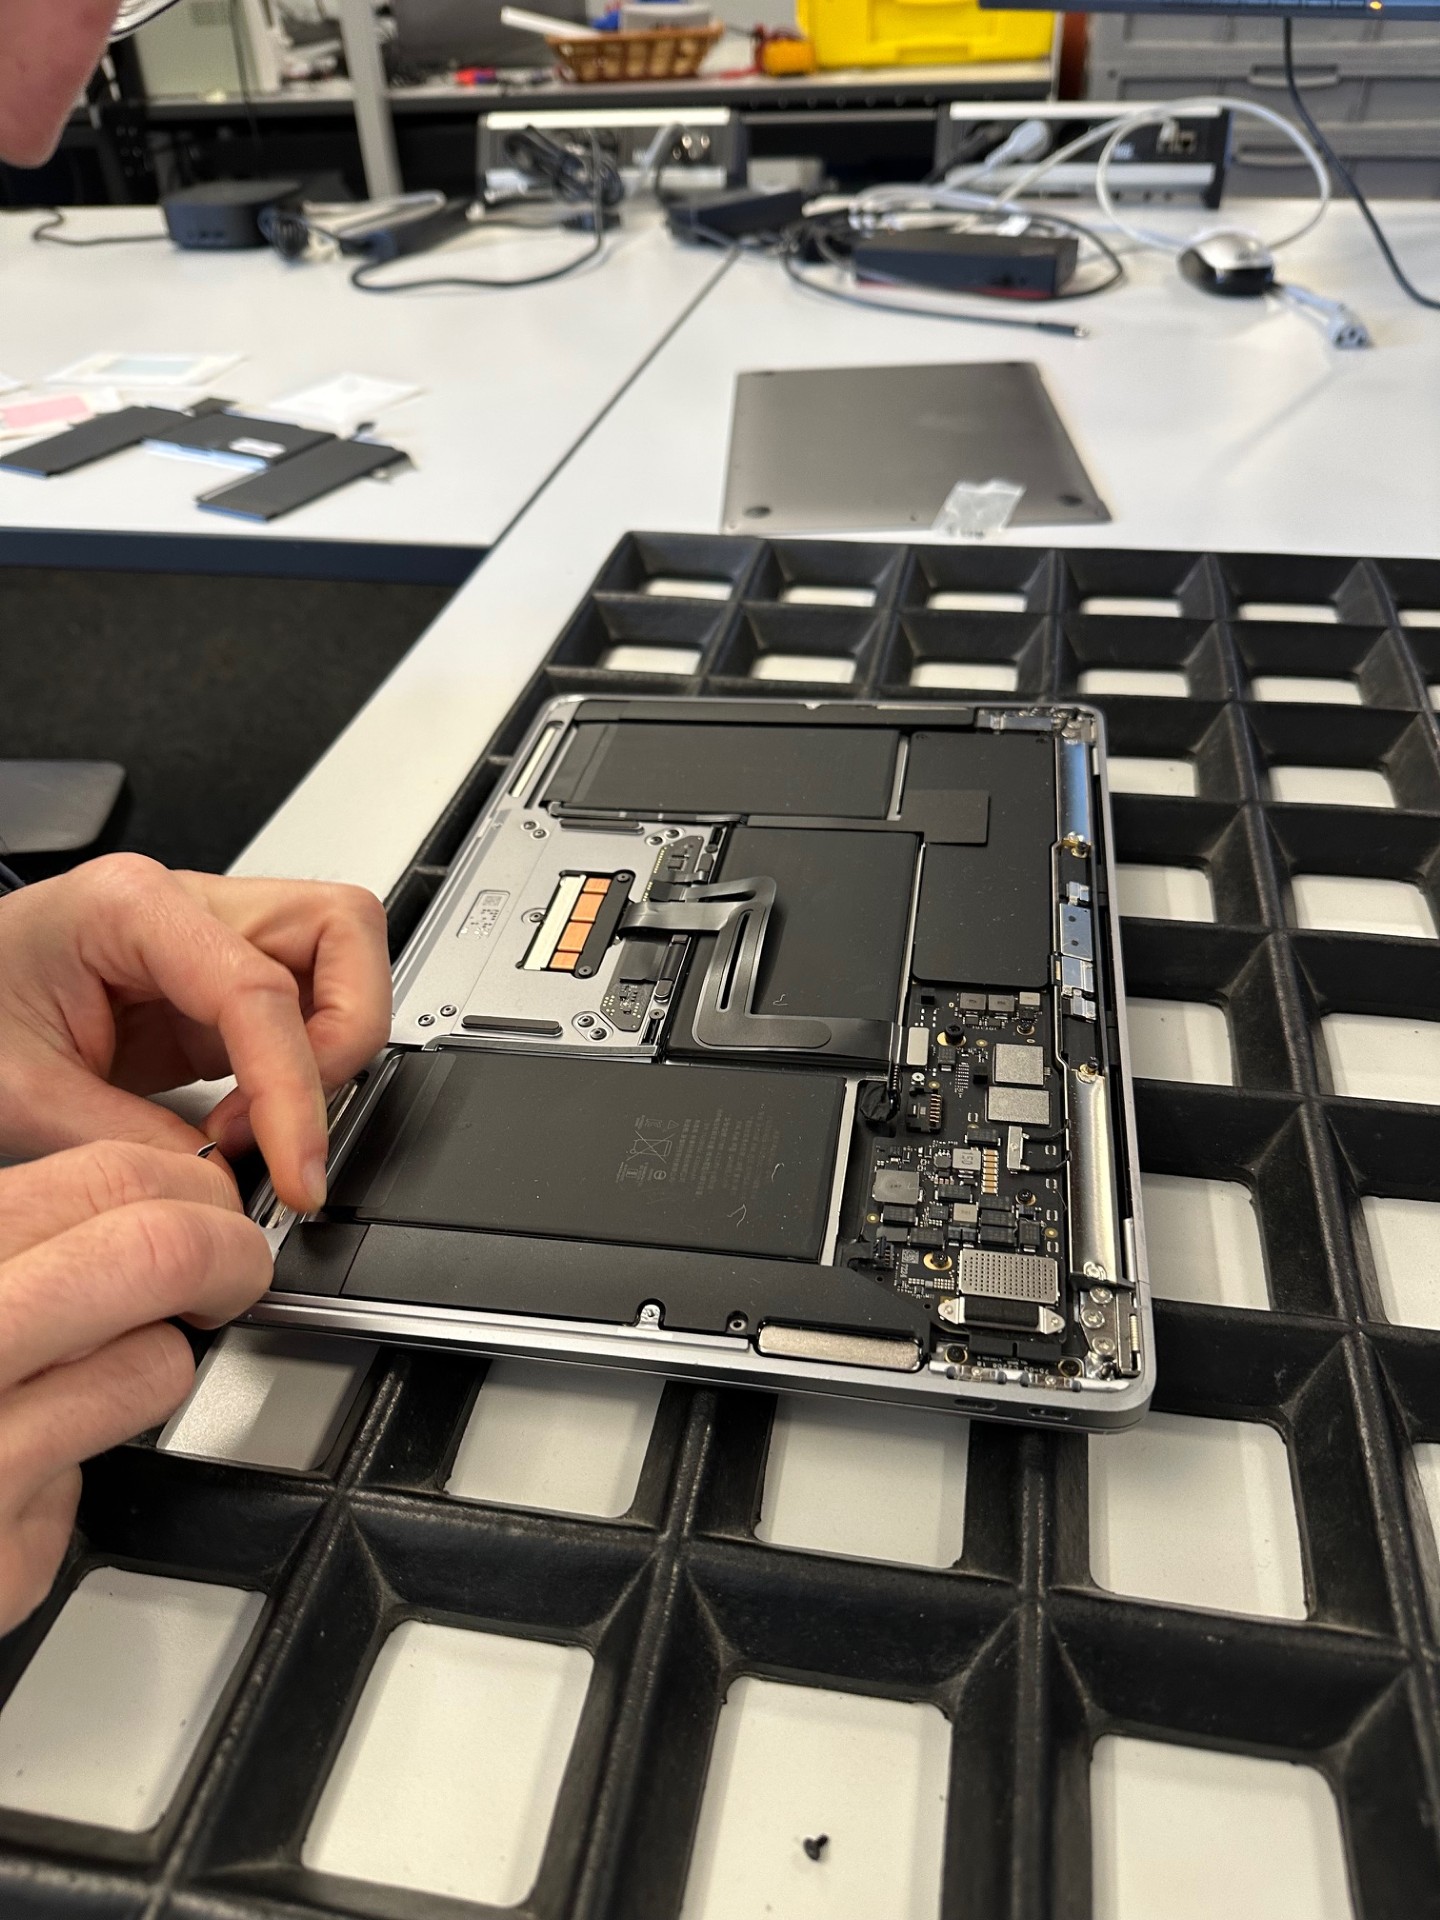
2. Disconnect the battery connector and touchpad cable:
Before removing the battery, be sure to disconnect the battery connector from the logic board. The touchpad flex cable must also be unplugged, as it runs over the battery and could otherwise be damaged.
3. Remove the speakers:
The speakers are located to the left and right of the battery. They must be removed, as some of the battery screws are underneath them. The speakers are also secured with strips (adhesive strips), but can be removed easily by carefully pulling them out.
Good to know: With this model, mounts usually don’t break during this step—so removal is comparatively safe.
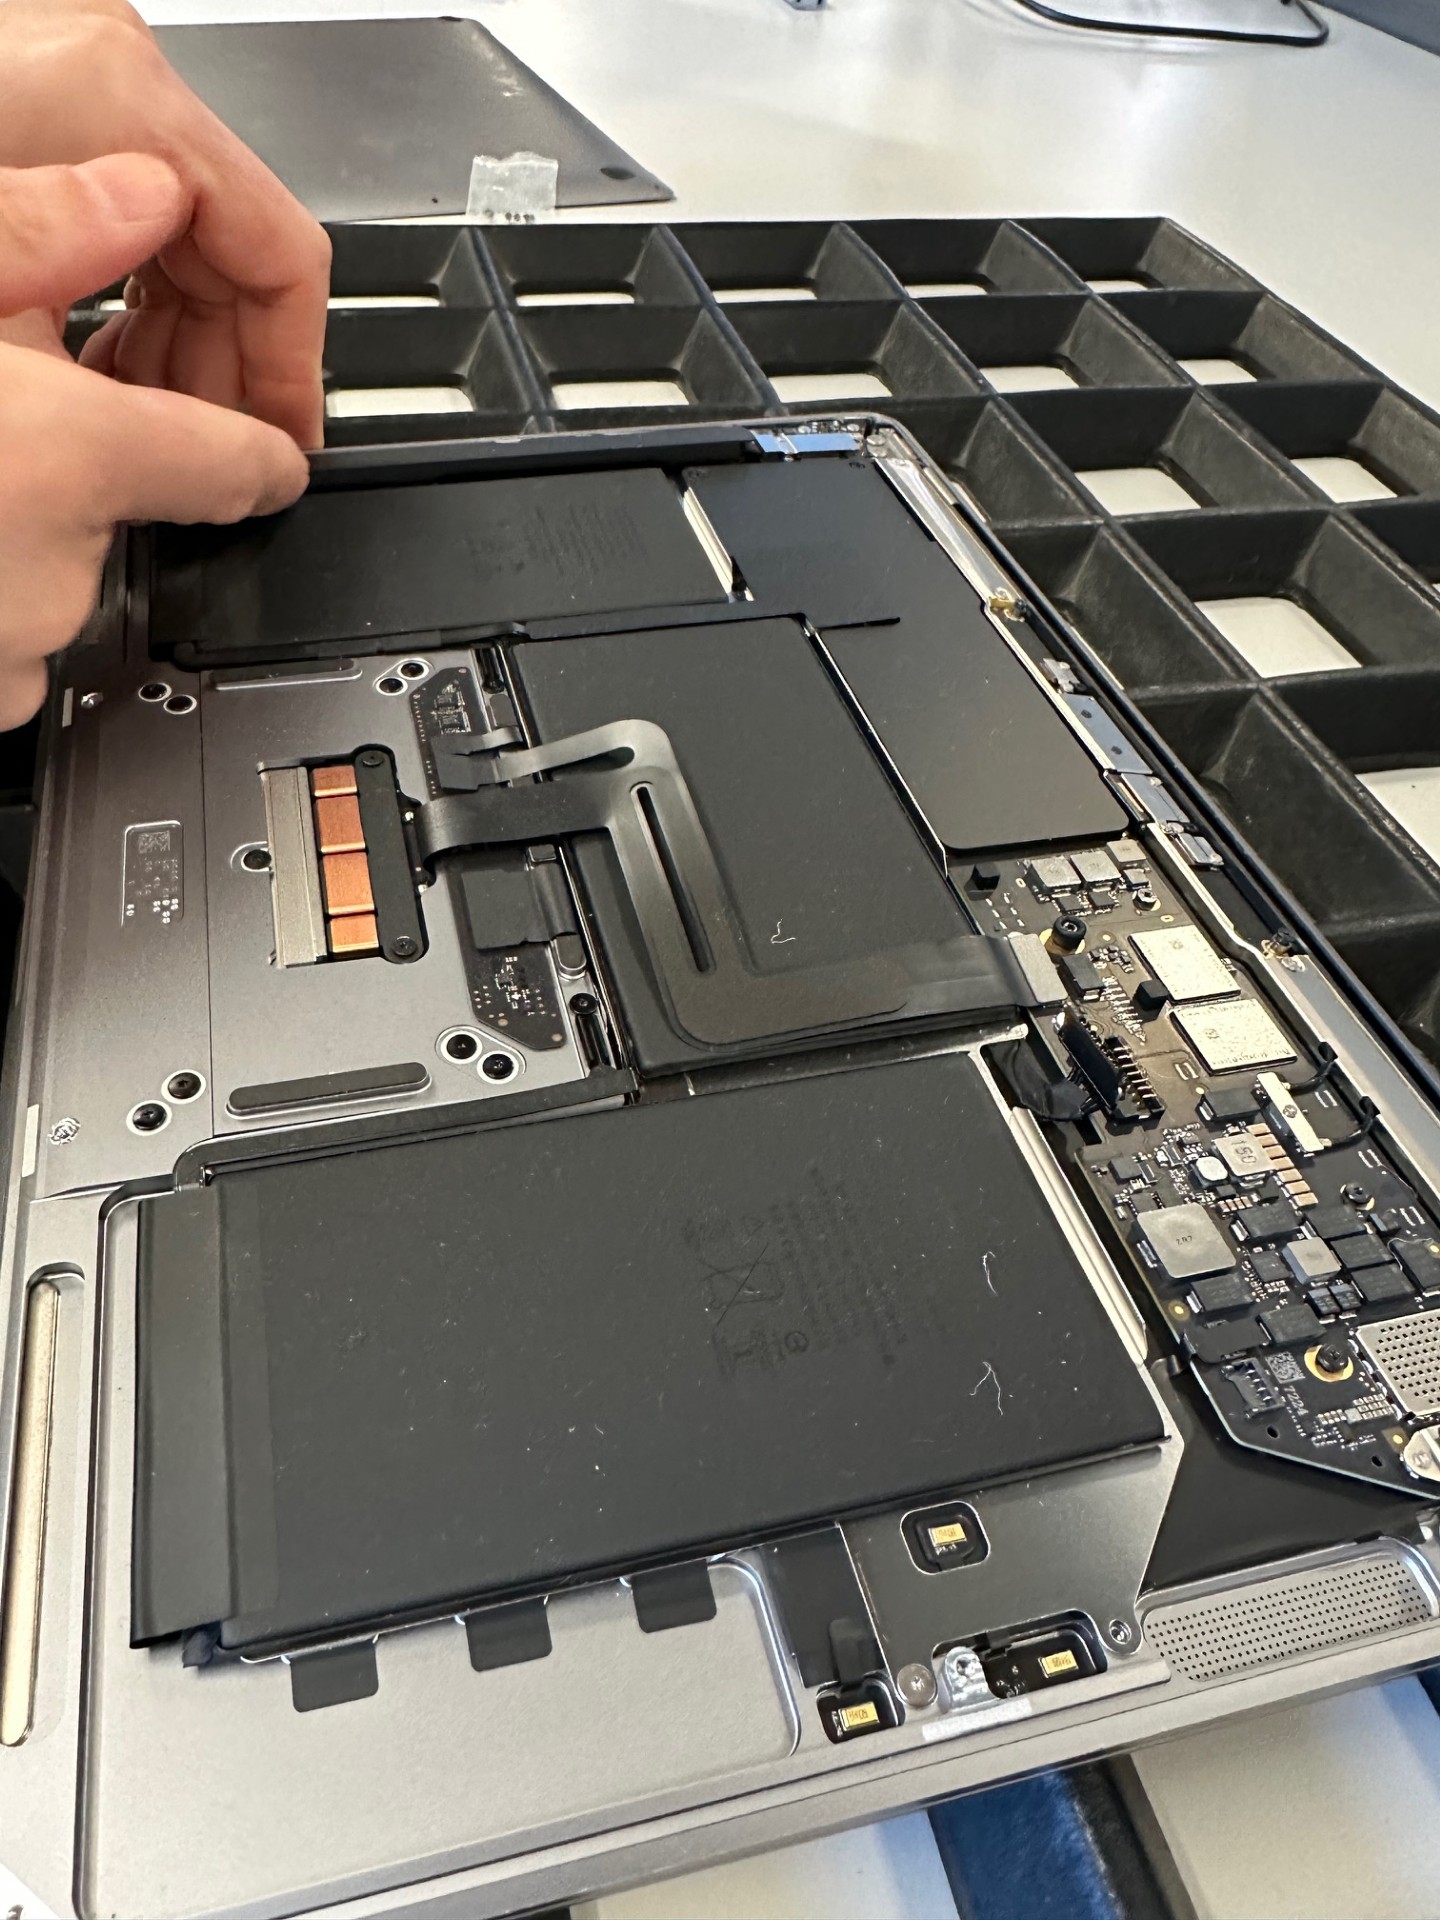
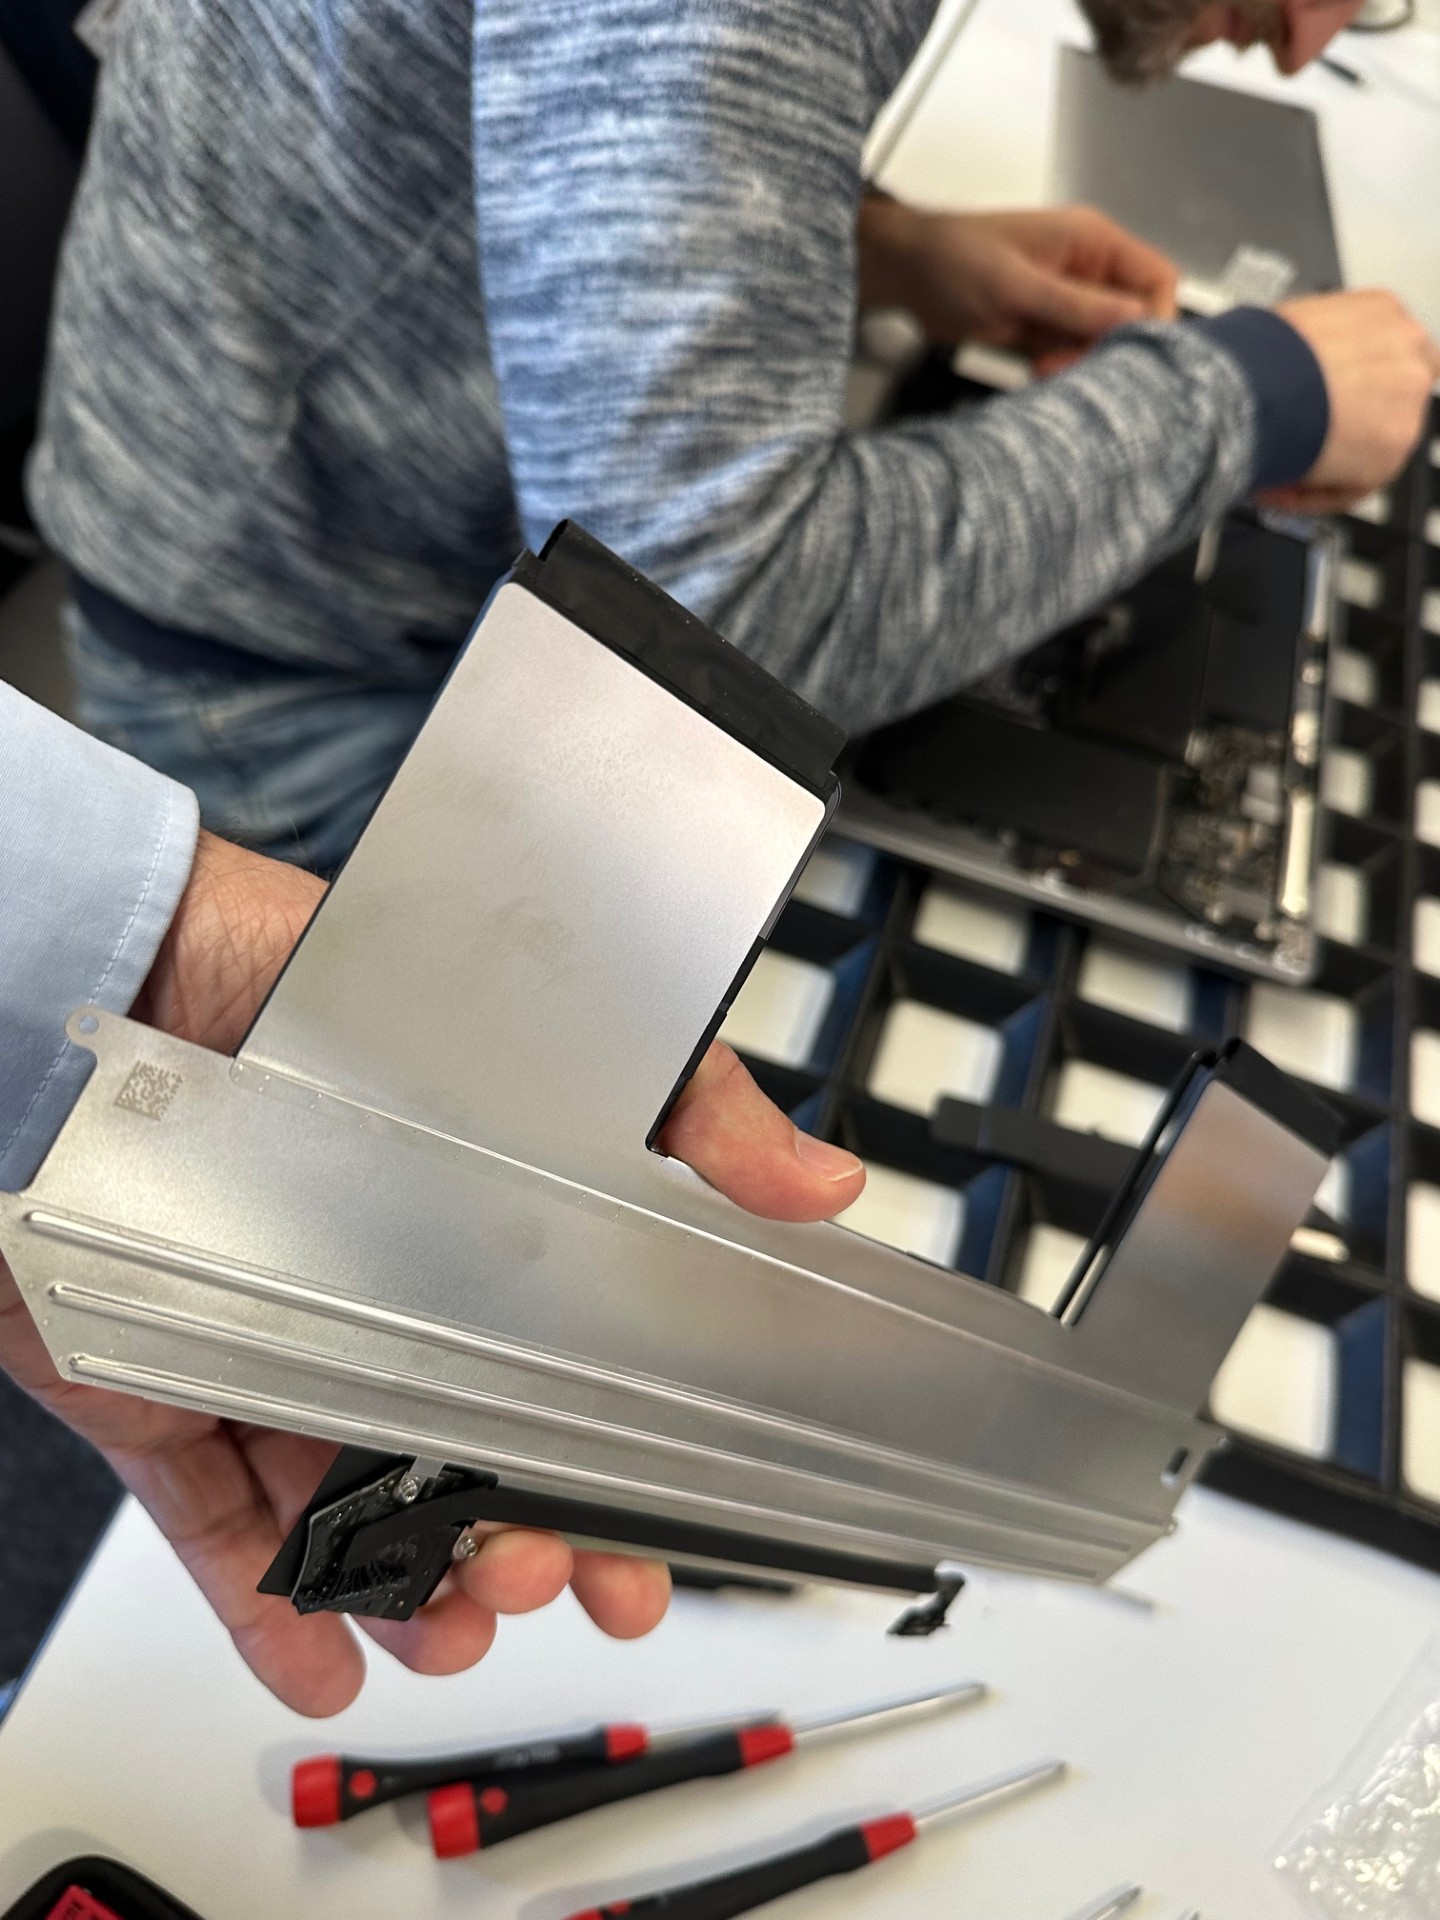
4. Remove the battery:
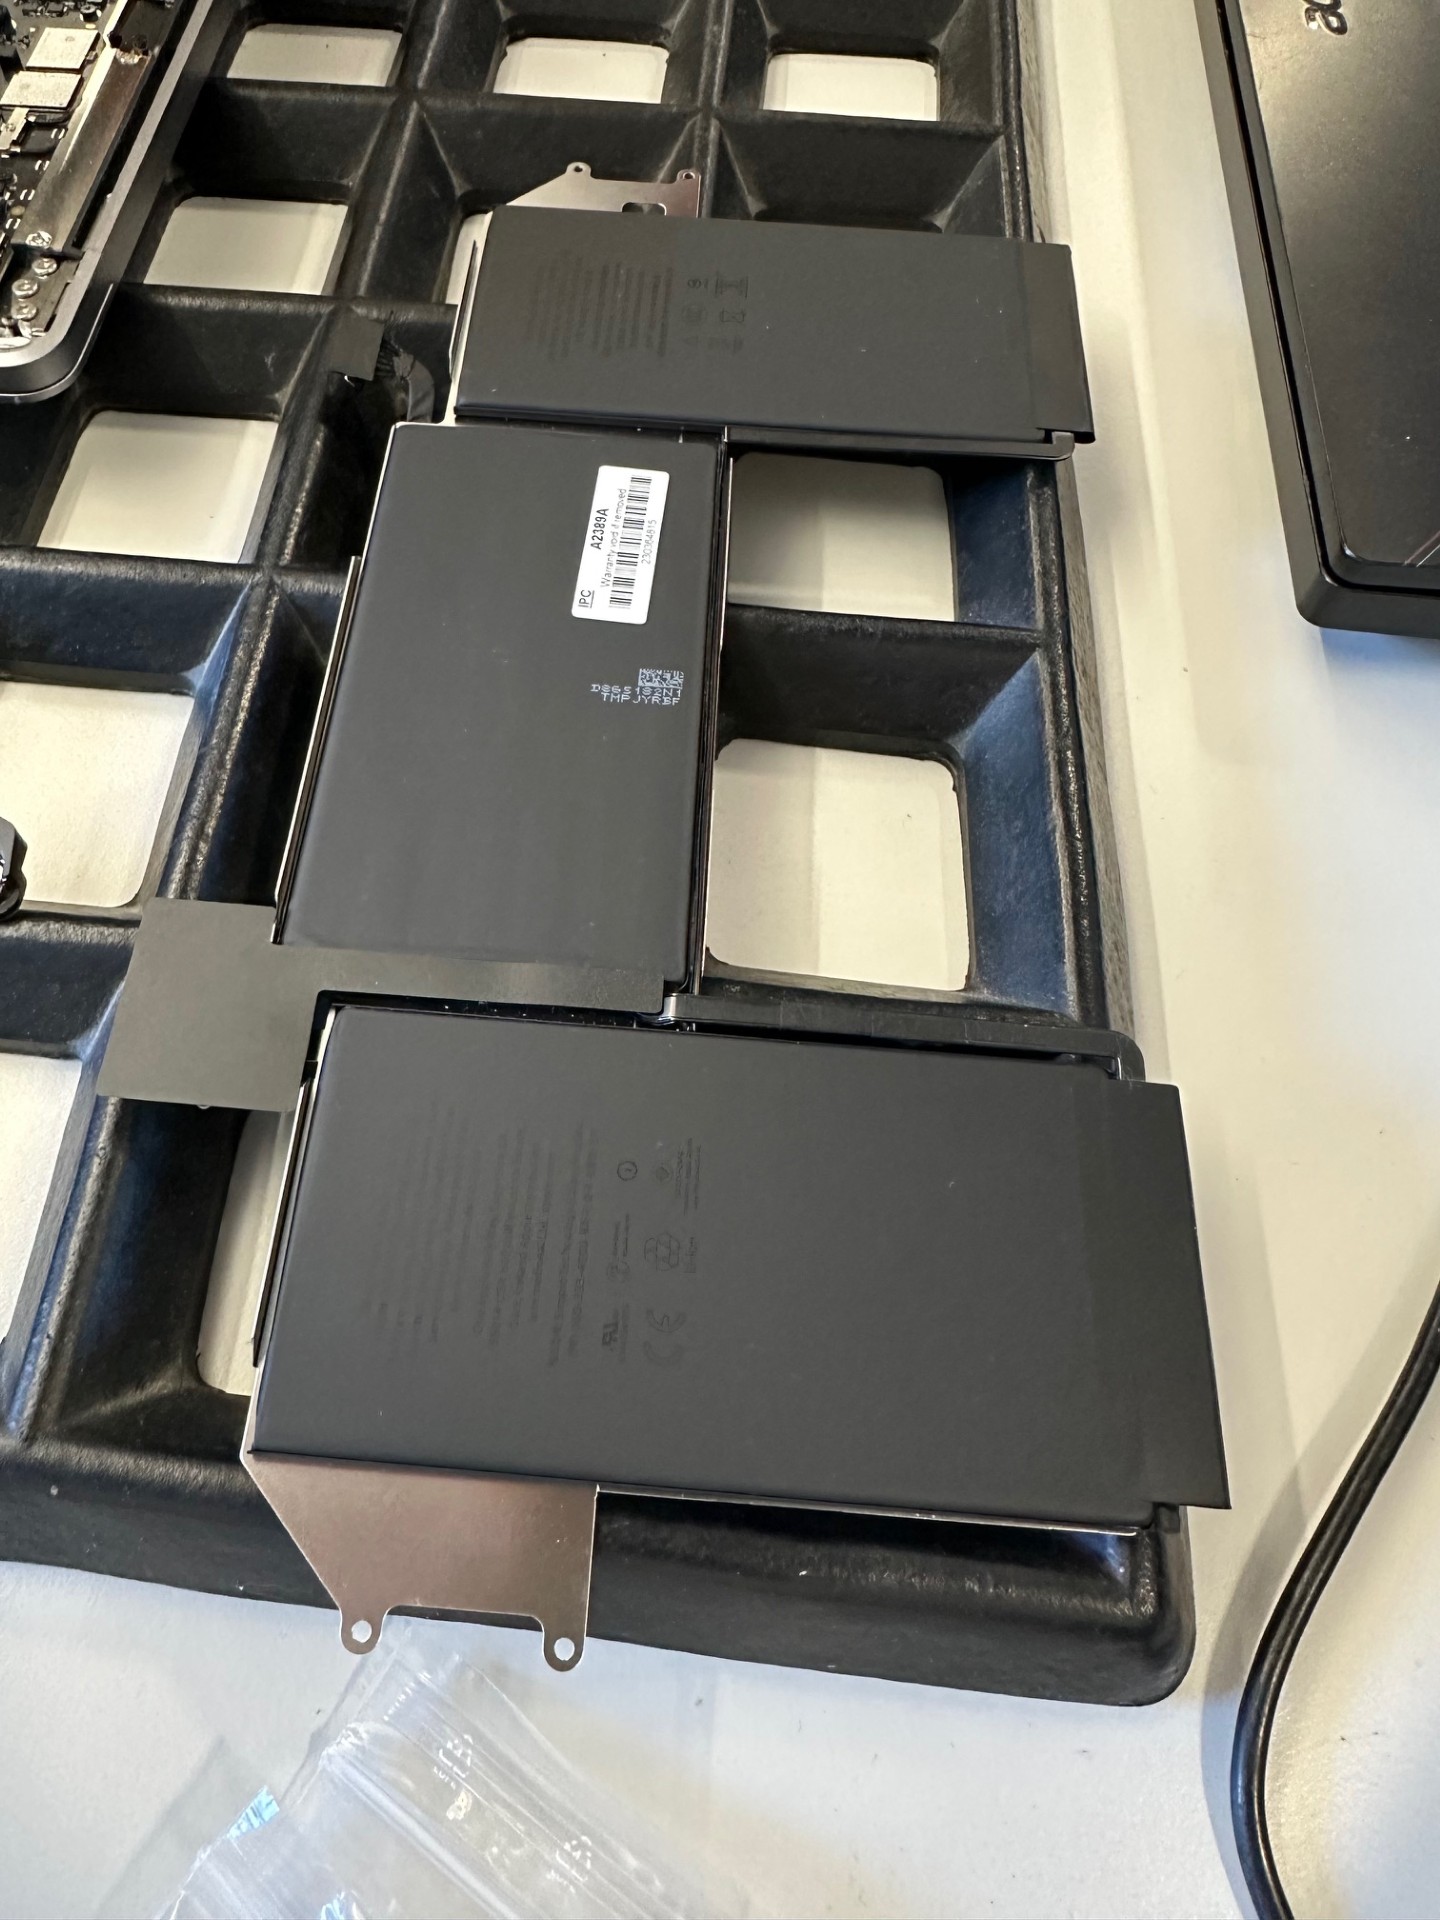
The battery is secured with several Tri‑Wing screws. After removing these screws, it can be lifted evenly out of the case.
On our device, there was also a light adhesive bond here, which could be released with gentle, even pulling.
5. Installing the new battery:
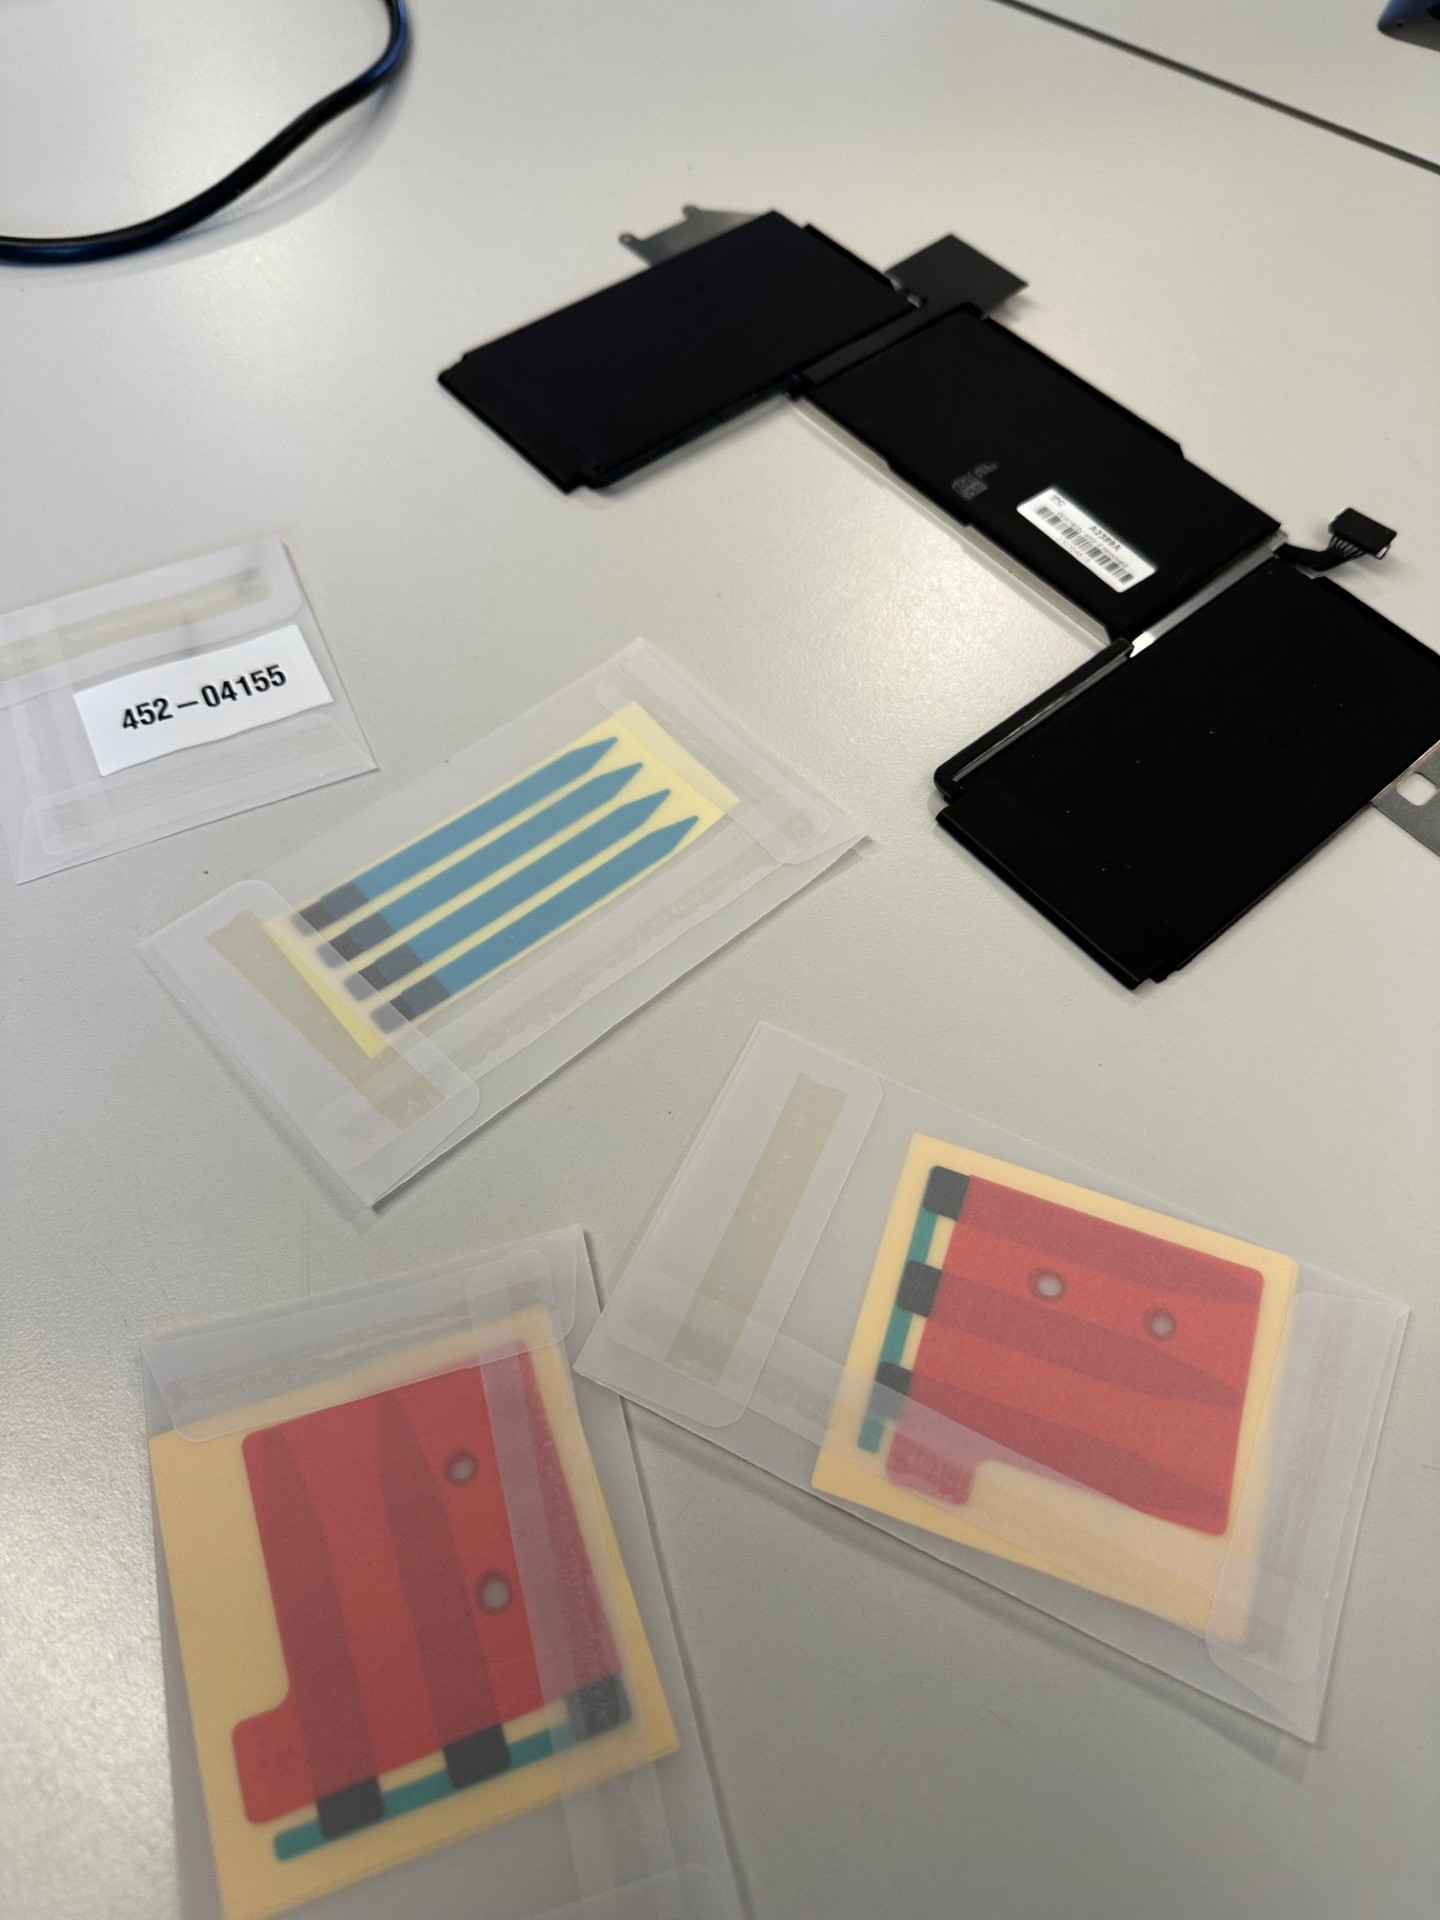
We generally recommend the original Apple battery, as it offers the best quality and an exact fit. The new battery is inserted, screwed in, and then the touchpad cable and the battery connector are reconnected. Next, the speakers and their wiring are reinstalled. (Strips are included free of charge with the original Apple battery)
6. Final steps:
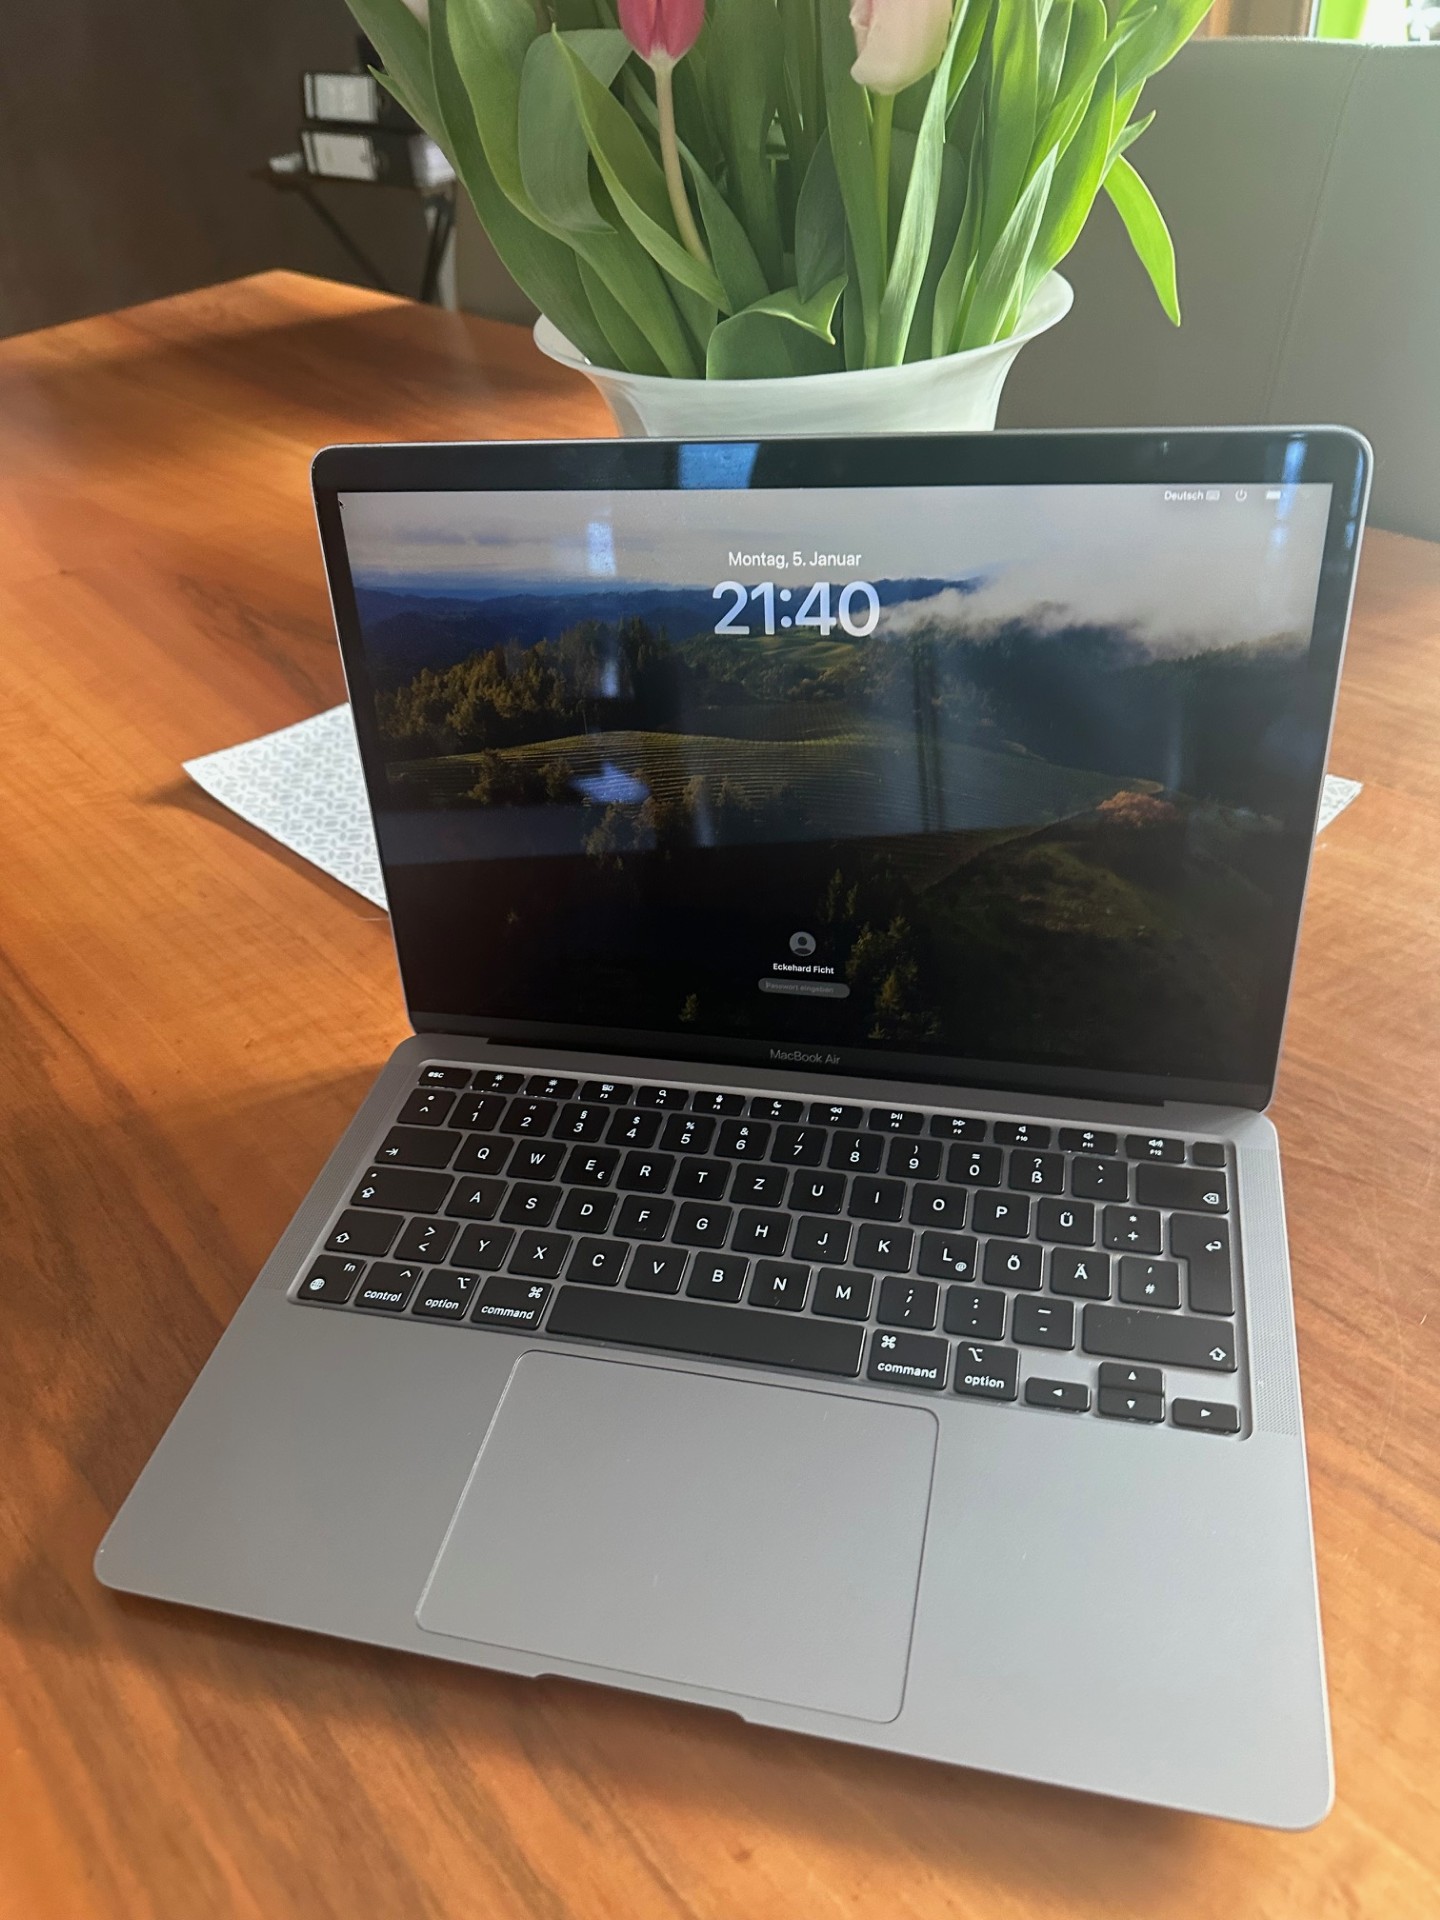
Finally, the mainboard cover is reinstalled and the case is closed. After the first power-on, check whether the battery is correctly detected in the system report and charging starts.
Repair assessment from the workshop
- Repair time: approx. 30 minutes
- Difficulty: Medium
- Special notes: Speakers and battery secured with adhesive pads; touchpad cable must be disconnected first
- Recommendation: Use only original Apple batteries; precision tools required
What should you watch out for when identifying the model?
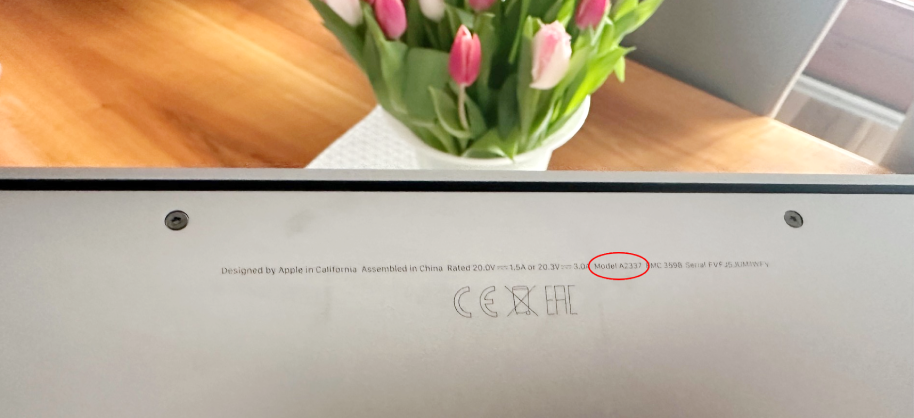
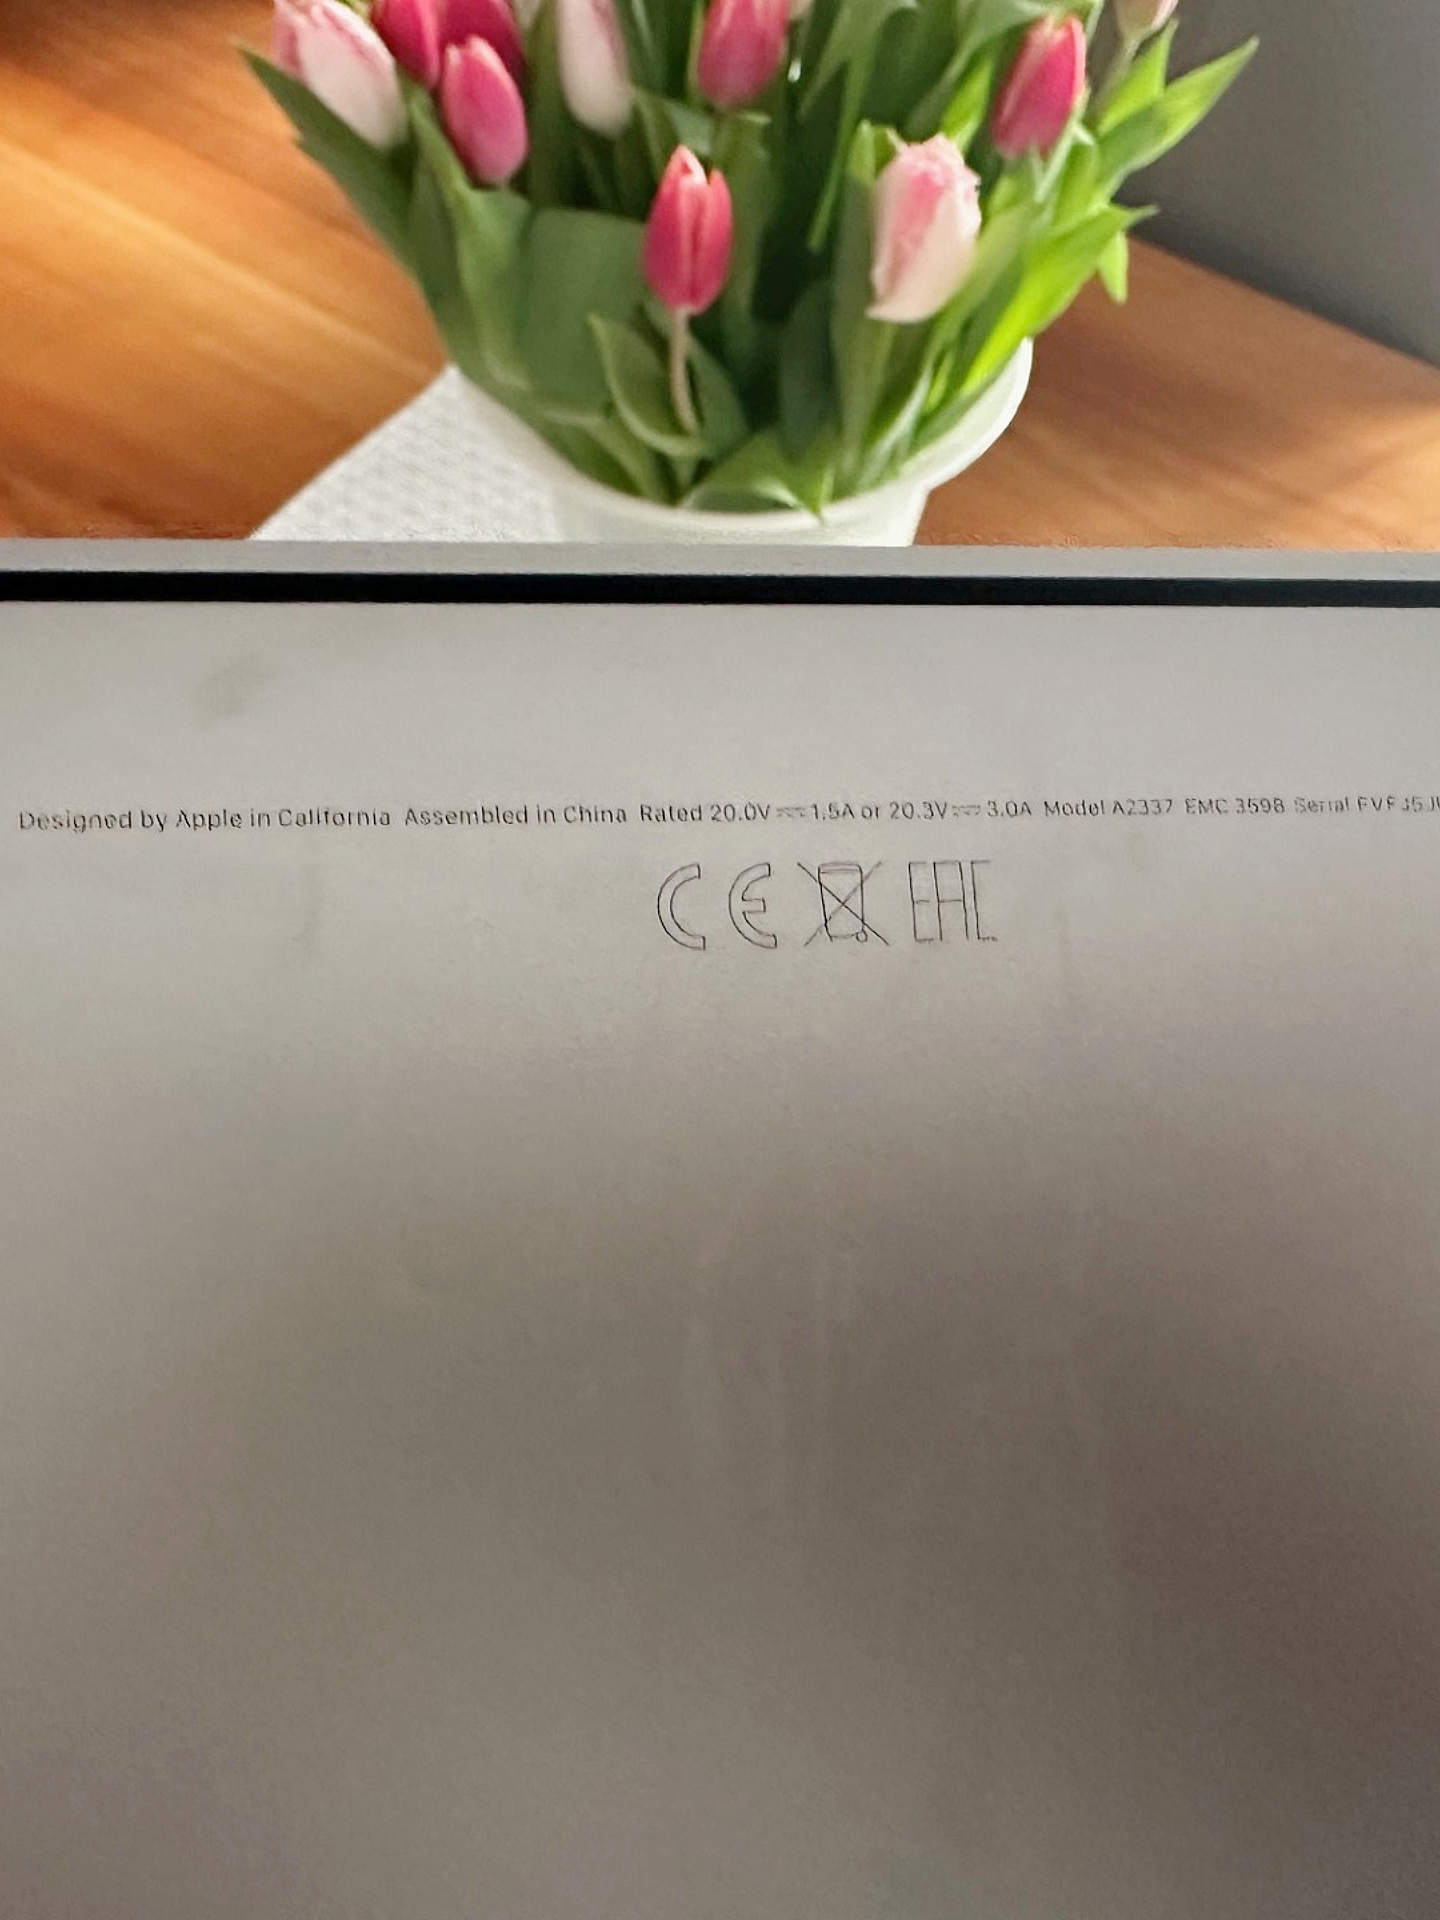
To make sure you use the right spare part or the right repair guide, the exact model number of your Apple device is crucial. This number always starts with an “A” followed by a “four-digit number”, for example A2337 for the MacBook Air M1 (13″, 2020).
You can usually find the model number on the underside of the device, in the system report, or in the settings. Because correct identification avoids compatibility issues and ensures a successful repair.
Looking for spare parts for the MacBook Air M1 (13", 2020)?
You can find all spare parts for the MacBook Air M1 (13″, 2020) here in our shop.
Conclusion
Replacing the battery on the MacBook Air M1 (13″, 2020) takes a bit of finesse, but with the right tools and clean workmanship it’s very doable. Thanks to the removable adhesive pads and the clear layout, the repair remains low-risk.
If you don’t feel confident doing the repair yourself, you can of course use our service—with professional installation and high-quality spare parts. Our experience and direct sourcing of spare parts from the manufacturer is your advantage! Feel free to take a look at our repair price list.
You’ll regularly find more guides and insights from real-world tech work here in our “Repair of the Week” series—straight from the IPC-Computer workshop.
Repair by our experienced pros?
Do you have a faulty MacBook? We’ll find the most cost-effective repair options for you in the IPC-Computer workshop and solve your problem. See for yourself with our offers and benefits, and register your device with us today via our repair request!